How To Remove Dotted Lines In Word 2010
If you do not see the Drawing Tools or Format tabs make sure that you have selected the line. Using the undo shortcut may not be practical if you dont use it right away.
How To Add And Remove Horizontal Lines Between Sections Of The Document Microsoft Word 2016
Dotted lines that I cant get rid of.
How to remove dotted lines in word 2010. This is in the Show section of the ribbon. If they do not print ignore everything Cliff told you. Removing dotted cell borders.
The line is removed and your characters remain. Look under Show Document Contet. With this simple step you would have been able to remove print lies in the spreadsheet.
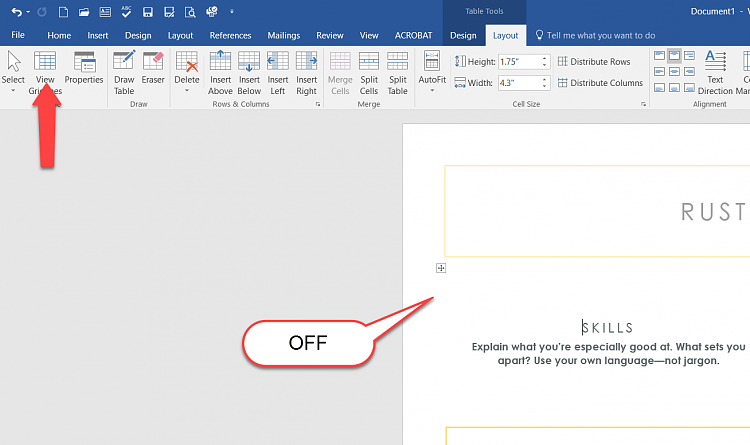
To turn off the gridlines for the table simply select the table and click View Gridlines again. It may be preferences rather than options. The View Gridlines option either shows or hides the gridlines for ALL tables in your document.
In the bottom box select footnote separator from the drop down list. Hi I am typing up an assignment and I have a number of dotted rows across my pages at different stages and I urgently need to get rid of them. Click on the Page Borders item in the Page Background group of Design tab.
I am assuming that the lines do not print. Go to the AutoFormat As You Type tab all versions. First you can press CtrlZ right after you pressed Enter and Word added the line.
The default line width half a point is adequate. Step 1 Open the Word document you want to edit. If there are both footnotes and endnotes in your document a Show Notes dialog box will pop up please select an option as you need and then click the OK button.
This leads to the second method of dealing with the line. Smalano Windows 8 Office 2010 64bit. The gridlines now display on the table.
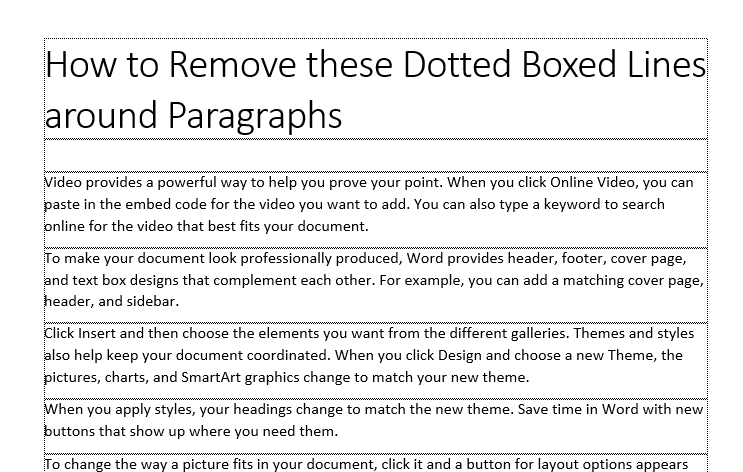
Uncheck the Border lines checkbox and any of these others that have been bedeviling you lately and click OK. In the document you will remove its footnote or endnotes separator line click View Draft. The checkbox that controls this particular feature is found under Apply as you type almost dead center - see it.
The white border will completely cover the table gridlines and text boundaries provided the recipient is using the default white window color in Windows which provides the paper. Add tab leader characters. How To Create A Leader Line In Microsoft Word 2010.
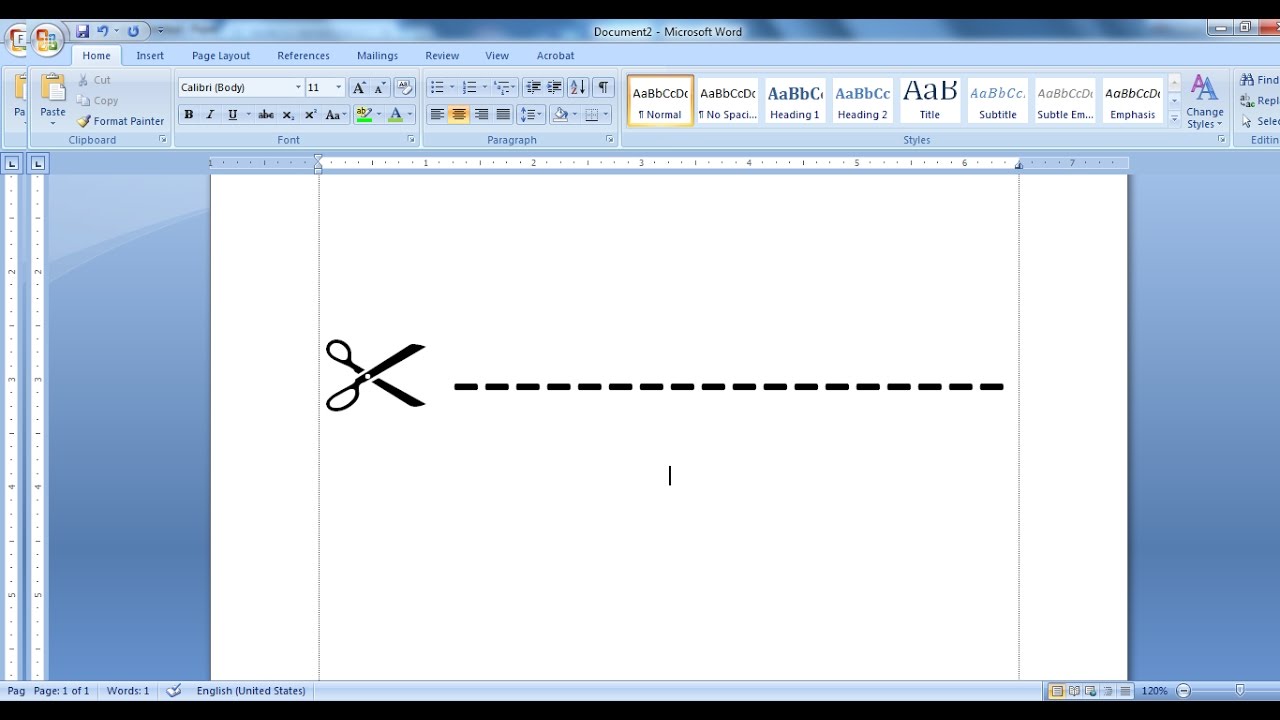
You can use this keyboard shortcut in all desktop and mobile versions of WordStep 2 Click where you want to add the dotted line. Example of the Shape Styles group on the Format tab. For instance column breaks appear as a thin dotted line with the text Column Break in the middle of the dotted line.
You must change your view to draft then go to references on the ribbon and select show notes. This will change the border color to white. You can turn that off.
Put the cursor above the line. In this case the line is removed and your characters remain. If you want to delete a break simply position the insertion point on the break and use any of the normal editing keys to delete it.
To do this we must. Then click remove the check mark in the Gridlines box. File Options Advanced.
You can create a dotted horizontal line. How To Create A Leader Line In Microsoft Word 2010. Select the Paragraph dialog launcher and then select Tabs.
Click the arrow button under Color and select the white square. Breaks are treated like any other characters in Word. Click Borders tab click None click OK.
However undoing the creation of the line every time may not be practical. If i try and click on them they come up with the little up and down arrow for moving. Add or select a tab stop and then select leader character option under Leader you want displayed.
Its a footnote separator which appears as a graphic line inside a dotted border ending with a paragraph symbol. Finally you can select and delete the line. Alternatively you can open a new blank document.
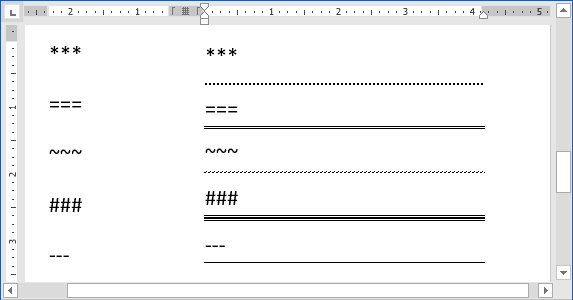
The first method is to press Ctrl Z right after typing the characters and pressing Enter to undo the automatic creation of the horizontal line. Then click References Show Notes as below screenshot shown. Sorry I do not have Word for the Mac but the above should be close.
Select Layout or Page Layout. Under Drawing Tools on the Format tab in the Shape Styles group click the arrow next to Shape Outline and then click the color that you want. You can follow the question or.
Finally I found the fix. If you just want to remove few horizontal lines you can manually remove them as follows. Find and double-click the document on your computer or open the Word app and select the document you want to edit.
Many at times we just want to print an Excel spreadsheet without the dotted lines. You have enabled display of text boundaries. Using Word 2010 in Print Layout View How do I remove the non printing dotted margin lines on my Word doc This thread is locked.
In the Table section of the Layout tab click View Gridlines. The space between tabs can show dots dashes or other leader characters to line up information.

3 Simple Ways To Insert A Dotted Line In Word Wikihow

How To Add A Dotted Line In A Microsoft Word Document
How Do I Get Rid Of This Dotted Border Around A Table In Word 2016 Solved Windows 10 Forums

How Do I Remove Page Margins In Word Super User
Remove Dotted Line Boxes Around Paragraphs In Word Journey Bytes
Microsoft Word 2010 Black Dotted Line Across The Page Microsoft Community


How To Remove Automatic Horizontal Lines In Word
Dotted And Dashed Cut Lines With Scissors Youtube

How To Remove Dotted Line In Open Office Table Of Contents Youtube
Post a Comment for "How To Remove Dotted Lines In Word 2010"